Grandes Images

How to Repair a Fuji Quickload Holder
9th February 2009
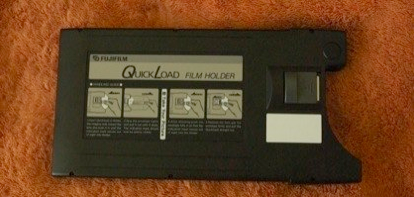
From time to time, Quickload film holders have been known to misbehave. Whether that be jumping out of your hand onto a sandy beach, or refusing to let go of an exposed sheet of film, the end result is that you may well need to disassemble one.
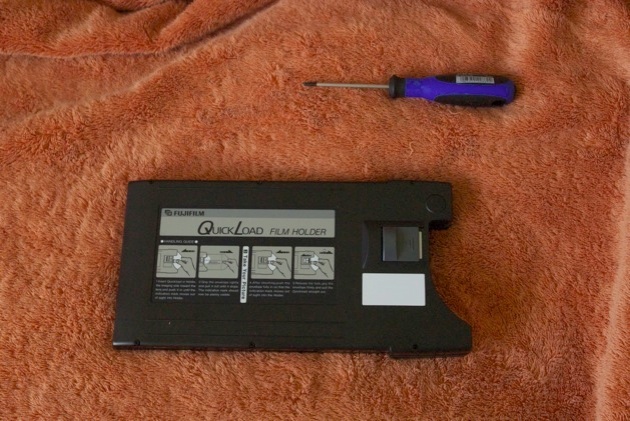
You will need a N°1 Philips screwdriver and a nice soft towel to catch anything that may fall or spring out whilst working. Before starting to take the holder apart, it is advisable to slide the film release towards the bottom of the holder; this will facilitate re-assembly which I will discuss later.
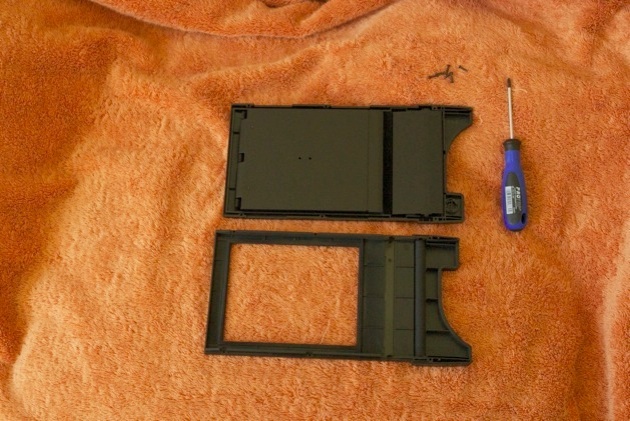
There are six screws holding the Quickload together and, although the four screws around the exposure aperture are easy to remove from their sockets, you may need to leave the two at the top end loose but still in their sockets, ensuring that you keep the back plate over the towel to catch these screws after separating the back from the front.
Whilst separating the two halves of the holder, it is important to keep the back plate on top as this contains a roller with two very fine springs that will fall out all too easily.


The left hand picture shows the roller end partially removed and the right hand picture shows just how difficult it can be to see the spring once it is detached.
Unless the roller is dirty, ther should be no need to remove it from its housing but, if it should be necessary to remove it, or if the roller should fall out, make sure that you replace the components in the same orientation and order as in the right hand picture.
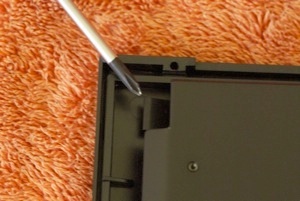
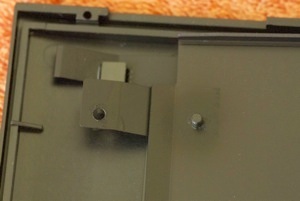
In this pair of pictures, you can see the screwdriver pointing to one of the “catchers” that hold on to the metal strip of a Quickload envelope so that the envelope can be withdrawn prior to exposure. From time to time, these catchers can get distorted, especially if you get over-enthusiastic trying to remove an exposed envelope, the metal strip of which has become more splayed apart than it should be.
The right hand picture shows the pressure plate on the right with one of its two locating pins which fit in holes in the spings, one of which is shown on the left of the picture. It is important to ensure that, when re-assembling the holder, these pins are securely located in the holes in their respective springs.

With the pressure plate removed, you can now see the three spring catchers which should all be set at around the same height and have a similar shape to those in this picture. If not they can be carefully bent back into shape.
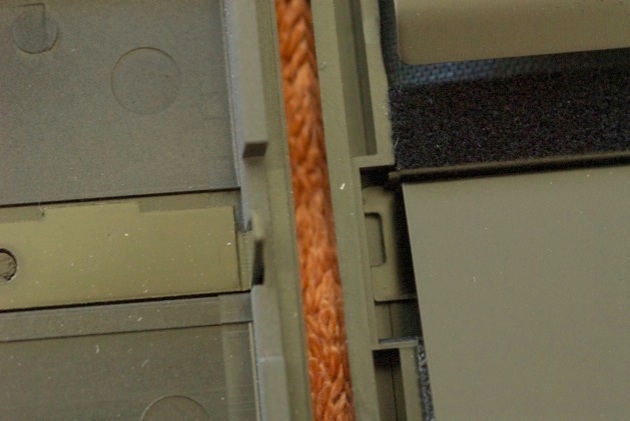
When you have finished cleaning or repairing your Quickload holder, you then need to ensure that a small mechanism, that connects the release button on the outside of the holder to the spring catchers inside, is correctly aligned prior to re-assembling the two halves of the holder.
As I said near the beginning of this article, it is important to ensure that the release button at the top of the holder is pushed towards the bottom of the holder, as it would be to release an envelope normally., Then the tab on the part of the holder to the left of this picture will be aligned with the slot in the spring plate to the right of this picture.
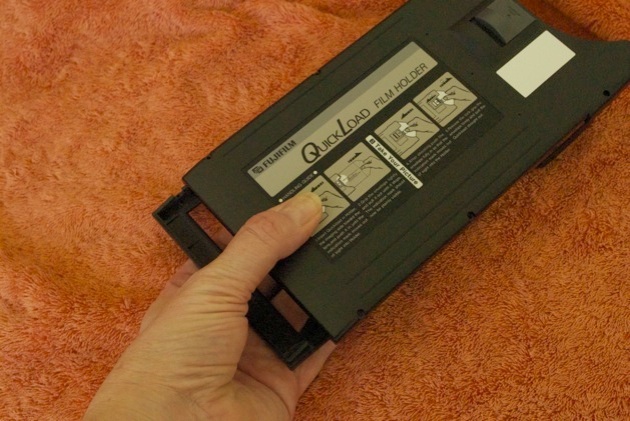
Penultimately, after ensuring everything is aligned, you need to pick up the back of the holder, ensuring that you are holding the pressure plate fimly in place on its pins, sliding the front of the holder in between your fingers, one at a time, maintaining a hold on the pressure plate, so that you end up with your fingers passing through the aperture right up until the moment when you press the two halves of the holder together.
Finally, insert the six screws into their respective holes with your other hand and tighten them gently. You should now have a working, repaired, Quickload holder.

